Happo Examples
This page outlines how to integrate Happo with an existing JavaScript codebase
through the use of "example" files scattered throughout your project. Both React
and plain JS can be used here. Control what type you're using through
the type configuration option.
Installation
First, install the happo.io module:
npm install --save-dev happo.io
The Happo Examples integration depends on webpack, @babel/core and
babel-loader as well. If you don't already have them installed, you need to
add them.
npm install --save-dev webpack @babel/core babel-loader
Adding test files
Before you can run your test suite, you need to define one or more component example files.
Let's assume there's a Button component that we're adding examples for. First,
create a file called Button-happo.js and save it next to your Button.js file
(if this doesn't match your naming scheme you can use the
include option). Add a few exports to this file
(yes, you can use ES6 here):
import React from 'react';
import Button from './Button';

export const primary = () => <Button type="primary">Primary</Button>;
export const secondary = () => <Button type="secondary">Secondary</Button>;
export const primary = () => {
  const button = document.createElement('button');
  button.className = 'btn-primary';
  button.textContent = 'Primary';
  document.body.appendChild(button);
};
export const secondary = () => {
  const button = document.createElement('button');
  button.className = 'btn-secondary';
  button.textContent = 'Secondary';
  document.body.appendChild(button);
};
Then, we need to add some configuration. API tokens are used to authenticate you
with the remote happo.io service: apiKey and apiSecret. These can be found
on your account page. You also need to tell happo
what browsers you want to target. In this example, we're using two Chrome
targets. One at 1024 x 768 screen ("desktop") and one on a 320 x 640 screen
("mobile").
// .happo.js
const { RemoteBrowserTarget } = require('happo.io');

module.exports = {
  apiKey: process.env.HAPPO_API_KEY,
  apiSecret: process.env.HAPPO_API_SECRET,

  targets: {
    'chrome-desktop': new RemoteBrowserTarget('chrome', {
      viewport: '1024x768',
    }),
    'chrome-mobile': new RemoteBrowserTarget('chrome', {
      viewport: '320x640',
    }),
  },
};
Save this file as .happo.jsin the root folder of your project.
Once we're done with the configuration it's time to try things out. Before we do
that, let's add a script to our package.json file so that it's easier to
invoke commands:
{
  "scripts": {
    "happo": "happo"
  }
}
This will expose a happo script we can run with
npm run happo run
Go ahead and run that command now.
If things are successful, you'll see something like this at the end of the run:
Uploading report for h5a4p3p2o1...
View results at https://happo.io/a/28/report/h5a4p3p2o1
Done h5a4p3p2o1
This first run will serve as our baseline. But now we need something to compare
that baseline with. A good way to test the whole flow is to make a change to a
component example and verify that happo will catch that difference. Open one of
your *-happo.js files and make some changes, e.g.
export const primary = () => <Button type="primary">PRIMARY</Button>;
export const secondary = () => <Button type="secondary">Secondary</Button>;
export const tertiary = () => <Button type="tertiary">Tertiary</Button>;
export const primary = () => {
  const button = document.createElement('button');
  button.className = 'btn-primary';
  button.textContent = 'PRIMARY';
  document.body.appendChild(button);
};
export const secondary = () => {
  const button = document.createElement('button');
  button.className = 'btn-secondary';
  button.textContent = 'Secondary';
  document.body.appendChild(button);
};
export const tertiary = () => {
  const button = document.createElement('button');
  button.className = 'btn-tertiary';
  button.textContent = 'Tertiary';
  document.body.appendChild(button);
};
Here, we made primary button have ALL CAPS and added a tertiary variant.
Let's run happo a second time:
npm run happo run
This time, we'll get a different hash:
Uploading report for h1a2p3p4o5...
View results at https://happo.io/a/28/report/h1a2p3p4o5
Done h1a2p3p4o5
Once the second run is done, we can compare the two runs by passing both hashes
to the happo compare action:
$ npm run --silent happo compare h5a4p3p2o1 h1a2p3p4o5
Differences were found.

- 2 diffs
- 2 added examples
- 2 unchanged examples

View full report at
https://happo.io/a/28/compare/h5a4p3p2o1/h1a2p3p4o5

→ exit status: 1
Don't worry about the command failing with a non-zero exit code. This is by design, scripts use the exit code as a signal that there is a diff.
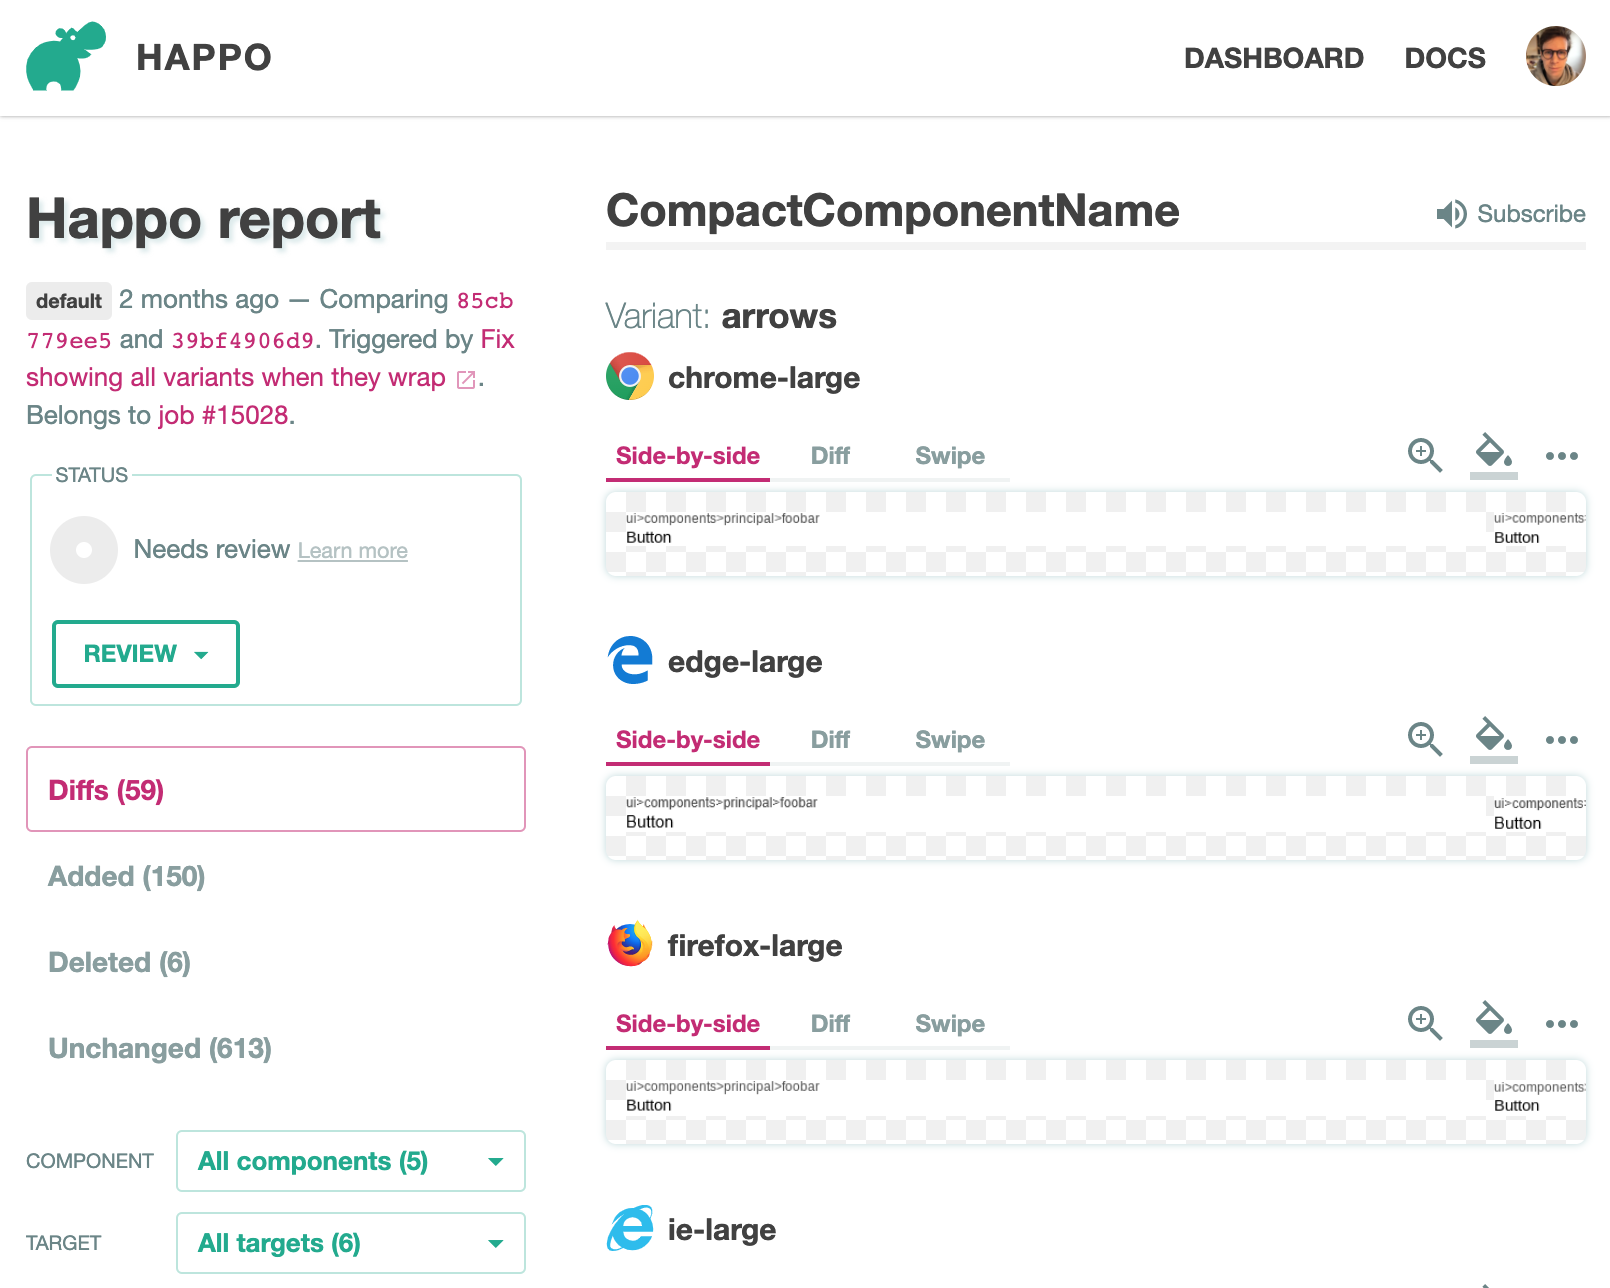
If you open this URL in a browser, you'll see something like this:
We've now covered the most important steps and commands involved in making a full happo run. Normally, you won't run all these commands locally. Instead, you'll configure your CI environment to do it for you, on every PR/commit/branch pushed. When you're ready, jump ahead to the Continuous Integration section.
Conditionally applied stylesheets
An example may conditionally apply styles from certain
stylesheets by using a stylesheets array:
// Button-happo.js
export default () => {
  render: () => <Button>Submit</Button>,
  stylesheets: ['main', 'secondary'],
}
// Button-happo.js
export default () => {
  render: () => {
    const button = document.createElement('button');
    button.textContent = 'Submit';
    document.body.appendChild(button);
  }
  stylesheets: ['main', 'secondary'],
}
The strings in the array need to match ids of stylesheets
defined in .happo.js config.
Limiting targets
If you want to avoid rendering an example in all targets, you can use a
targets array defined for an example. The example will then be rendered in the
specified targets exclusively.
// Button-happo.js
export default () => {
  render: () => <Button>Submit</Button>,
  targets: ['chrome-small'],
}
// Button-happo.js
export default () => {
  render: () => {
    const button = document.createElement('button');
    button.textContent = 'Submit';
    document.body.appendChild(button);
  }
  targets: ['chrome-small'],
}
The target strings in the array need to match
target keys in .happo.js config.
Generated examples
If you want to group multiple components in one file you can export an array instead, with objects defining the component and its variants. This can be handy if you for some reason want to auto-generate happo examples from another source (e.g. a style-guide, a component gallery etc).
export default [
  {
    component: 'Button',
    variants: {
      primary: () => <Button type="primary">Primary</Button>,
      secondary: () => <Button type="secondary">Secondary</Button>,
    },
  },
  {
    component: 'Icon',
    variants: {
      small: () => <Icon size="small" />,
      large: () => <Icon size="large" />,
    },
  },
];
export default [
  {
    component: 'Button',
    variants: {
      primary: () => {
        const button = document.createElement('button');
        button.className = 'btn-primary';
        button.textContent = 'Primary';
        document.body.appendChild(button);
      },
      secondary: () => {
        const button = document.createElement('button');
        button.className = 'btn-secondary';
        button.textContent = 'Secondary';
        document.body.appendChild(button);
      },
    },
  },
  {
    component: 'Icon',
    variants: {
      small: () => {
        const icon = document.createElement('div');
        icon.className = 'icon icon-arrow icon-small';
        document.body.appendChild(icon);
      },
    },
  },
];
Asynchronous examples
If you have examples that won't look right on the initial render, you can return
a promise from the example function. Happo will then wait for the promise to
resolve before it uses the markup in the DOM. This is useful if you for instance
have components that have some internal state that's hard to reach without
interacting with the component. To simplify rendering to the DOM, Happo provides
you with a function as the first argument to the example function. When type
is react, this function is a wrapper around ReactDOM.render. When type is
plain, this function is a simple element.innerHTML call, returning a root
element where that html got injected.
export const asyncComponent = renderInDom => {
  return new Promise(resolve => {
    const component = renderInDom(<Foo />);
    component.doSomethingAsync(resolve);
  });
};
// Plain js example
export const asyncComponent = renderInDom => {
  const rootElement = renderInDOM('<div>Loading...</div>');
  return doSomethingAsync().then(() => {
    rootElement.querySelector('div').innerHTML = 'Done!';
  });
};
You can use async/await here as well:
export const asyncComponent = async renderInDom => {
  const component = renderInDom(<Foo />);
  await component.doSomethingAsync();
  component.doSomethingSync();
};
export const asyncComponent = async renderInDom => {
  const rootElement = renderInDOM('<div>Loading...</div>');
  await doSomethingAsync();
  rootElement.querySelector('div').innerHTML = 'Done!';
};
Be careful about overusing async rendering as it has a tendency to lead to a more complicated setup. In many cases it's better to factor out a "view component" which you render synchronously in the Happo test.
Image loading
Examples can reference images in a few different ways:
- Through external URLs, e.g.
<img src="http://domain/image.png" />. Happo will wait for these to be downloaded before the screenshot is taken. - With internal paths, combined with
publicFoldersconfiguration. E.g.<img src="/assets/images/foo.png" />. Make sure to add an (absolute) path to the folder containing your assets in thepublicFoldersconfig option. Happo will automatically include these images. - With images inlined as base64 URLs. This is often automated using webpack
config, so that you can
import fooImage from './images/foo.png'directly.
CSS Loading Strategies
Happo works best when CSS code is co-located with the components. In some cases,
you'll get away with zero configuration to get this working. But in other cases,
you'll have to add a little webpack config to the mix. Happo uses webpack under
the hood when generating browser-executable JavaScript. The
customizeWebpackConfig config option
will let you inject things like webpack loaders to the happo run. E.g.
module.exports = {
  customizeWebpackConfig: config => {
    config.module.rules.push({
      test: /\.css$/,
      use: [{ loader: cssLoader }],
    });
    // it's important that we return the modified config
    return config;
  },
};
Framework integration
Next.JS
Here's an example repo integration a Next.JS app with Happo Examples: https://github.com/happo/happo-next-demo
Create-React-App
This repo demonstrates how to use Happo Examples with Create-React-App. It uses TypeScript but the instructions apply to non-TypeScript projects as well: https://github.com/happo/happo-cra-typescript